-
PRODUCTS & SERVICESOptimized cooling solutions for modern data centersProducts & ServicesOptimized cooling solutions for modern data centers
-
CAPABILITIESAdvancing liquid cooling technologiesCapabilitiesAdvancing liquid cooling technologies
-
TechnologiesLiquid Cooling InnovationTechnologiesLiquid Cooling Innovation
-
RESOURCESLatest News & InformationResourcesLatest News & Information
-
ABOUTOur history, leadership and ownershipAboutOur history, leadership and ownership
-
CONTACTFacility locations and global operational footprint






7 Tips to Choose a Vibration Measurement Meter
Selecting a Vibration Measurement Meter is not simply a matter of choosing the highest-priced model. In a workshop, a technician may stand beside a noisy motor, holding a sensor against a warm bearing housing. The reading must remain clear, stable, and useful under pressure. A suitable meter can reveal rising vibration before a small imbalance becomes an expensive failure. It can also prevent unnecessary part replacement. That practical value depends on more than advertised accuracy.
Real maintenance experience shows that measurement habits matter. Sensor placement, surface condition, measurement direction, and operating speed can change the result. A meter with excellent specifications may still disappoint when its probe is awkward or its screen is difficult to read. Small details matter. Battery life, data storage, calibration support, frequency range, and environmental protection deserve careful attention. Certification can increase confidence, but it does not replace proper technique or professional judgment.
This guide examines seven practical points for choosing a Vibration Measurement Meter. The discussion considers accuracy, usability, durability, signal analysis, and long-term service value. It also recognizes an uncomfortable truth: no single meter suits every machine or technician. A basic device may work well for routine checks, while advanced equipment may be necessary for fault diagnosis. The right decision should follow measured needs, reliable evidence, and the conditions found in the field. Some recommendations may require reconsideration after real testing. That is not failure. It is part of responsible measurement.
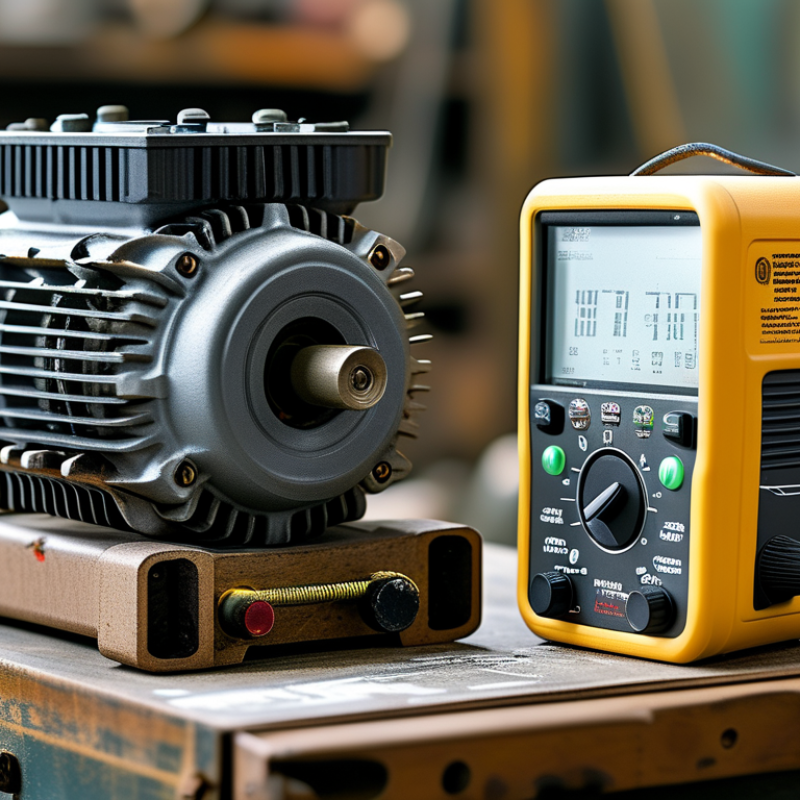
Table of Contents [Hide]
Define the Measurement Task and Vibration Characteristics
Choosing a vibration measurement meter begins with defining the measurement task. Do you need routine maintenance, fault diagnosis, or acceptance testing? A trend check may require stable RMS readings. Fault diagnosis needs frequency information, waveform data, and suitable sampling speed. Acceptance testing may require repeatable limits and documented conditions. These are different jobs.
Tip: Describe the machine before selecting the meter. Record its running speed, load, bearing type, and likely fault location. A slow gearbox and a high-speed motor produce different vibration characteristics. Acceleration can reveal bearing impacts, while velocity often supports general machine-condition assessment. Displacement may matter on low-speed equipment. Do not assume one unit fits every task.
Tip: Match the meter to the signal, not just the machine. Check the required frequency range, amplitude range, crest factor, and sensor mounting method. A magnetic base is convenient, but hand-held measurements can vary greatly. I have seen readings change after moving the probe only a few centimeters. That error is easy to overlook. Repeat measurements at the same point, direction, load, and operating temperature. Record the details.
Tip: Choose clear outputs and verify them against a reference method. A trustworthy meter should show units, measurement status, and overload warnings. Calibration records also matter. Even experienced technicians can misread a peak value as an RMS value. I have made that mistake during a rushed inspection. The result looked convincing, but the conclusion was weak. Take time to confirm what the number actually represents.