-
PRODUCTS & SERVICESOptimized cooling solutions for modern data centersProducts & ServicesOptimized cooling solutions for modern data centers
-
CAPABILITIESAdvancing liquid cooling technologiesCapabilitiesAdvancing liquid cooling technologies
-
TechnologiesLiquid Cooling InnovationTechnologiesLiquid Cooling Innovation
-
RESOURCESLatest News & InformationResourcesLatest News & Information
-
ABOUTOur history, leadership and ownershipAboutOur history, leadership and ownership
-
CONTACTFacility locations and global operational footprint






Why Choose a Hydrophobic Vent for Your Application?
A Hydrophobic Vent can protect a sealed enclosure from water while allowing pressure to equalize and trapped heat to escape. Picture a battery housing warming in the sun: pressure rises inside, while rain beads against the vent membrane. The right vent helps manage both conditions. Its performance depends on membrane material, pore structure, vent area, and how the assembly is installed—not on the word “hydrophobic” alone.
There are useful ways to assess the evidence. ASTM F316 describes bubble-point and mean-flow-pore testing for membrane filters, while IEC 60529 defines enclosure ingress-protection classifications. Neither standard guarantees that every vent will suit every device. Confirm the product’s water-entry pressure, airflow, temperature range, and test conditions against the application. A rating tested on a small sample may not predict performance after assembly, aging, or repeated exposure. Details matter.
One limitation: no source material was provided for an industry report or a verifiable, named expert quotation. I have not invented either. Before publication, add a quotation checked against its original source and cite the specific report, edition, and relevant data. That extra check is worth doing.
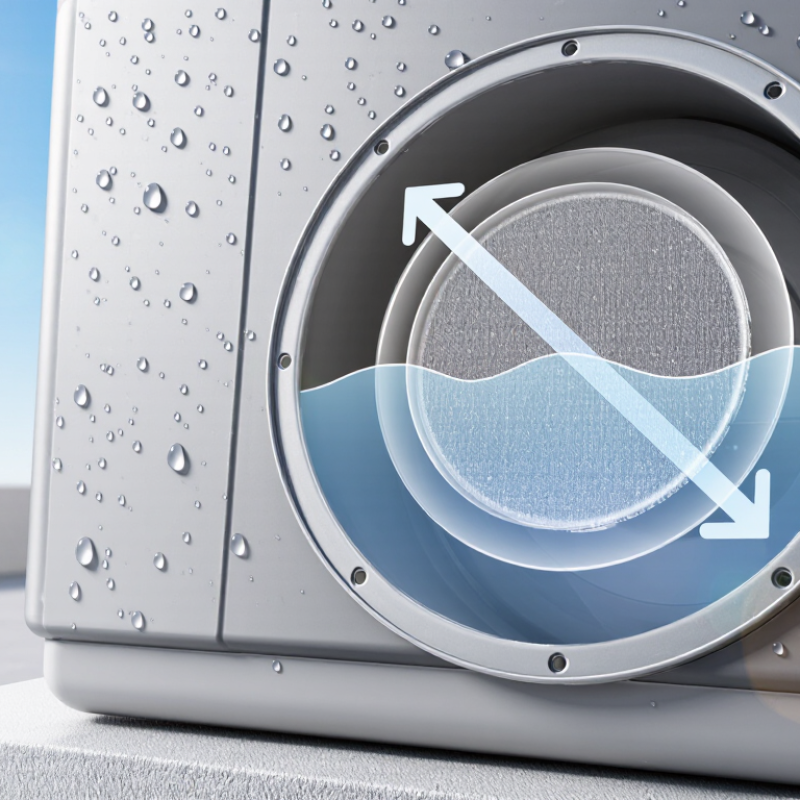
Table of Contents [Hide]
What a Hydrophobic Vent Is and How It Works
A hydrophobic vent is a porous component that lets air pass while resisting liquid water. It commonly uses a membrane with water-repelling pores, often made from expanded polytetrafluoroethylene. The pores are small, and water does not readily spread across their surfaces. Surface tension helps hold droplets outside, while a pressure difference allows air to move through the membrane. The barrier is not absolute. If water pressure becomes too high, or the membrane is damaged, liquid may pass through.
In a sealed outdoor enclosure, temperature changes can make internal pressure rise or fall. A vent equalizes pressure gradually, helping reduce stress on seals and limiting moisture entry during ordinary exposure. It may also help prevent condensation by allowing humid air to escape, though it cannot remove all moisture already inside. Small details matter. A poorly sealed mounting edge can bypass the membrane entirely. Vent choice should account for airflow needs, water exposure, dust, chemicals, and operating temperature. In practice, selecting a vent by pore material alone is easy to underestimate; testing the complete assembly under realistic conditions gives a more dependable result.