-
PRODUCTS & SERVICESOptimized cooling solutions for modern data centersProducts & ServicesOptimized cooling solutions for modern data centers
-
CAPABILITIESAdvancing liquid cooling technologiesCapabilitiesAdvancing liquid cooling technologies
-
TechnologiesLiquid Cooling InnovationTechnologiesLiquid Cooling Innovation
-
RESOURCESLatest News & InformationResourcesLatest News & Information
-
ABOUTOur history, leadership and ownershipAboutOur history, leadership and ownership
-
CONTACTFacility locations and global operational footprint





Why Is My Fitting Quick Connect Leaking?
A leaking Fitting Quick Connect can turn a clean work area into a trail of fluid, mist, or pressure loss. The visible drip is often only the final symptom. The real cause may involve damaged seals, incorrect tube insertion, vibration, contamination, or excessive side loading.
The U.S. Department of Energy’s Improving Compressed Air System Performance sourcebook estimates that compressed-air leaks can waste 20% to 30% of compressor output. That figure shows why a small connector leak deserves serious attention. It can increase energy use, reduce machine performance, and create avoidable maintenance risk. The leak may also worsen when temperature and pressure change.
Look closely at the connection.
A proper inspection should follow guidance from ISO 4413 for hydraulic systems and ISO 4414 for pneumatic systems. These standards emphasize suitable components, clean assembly, pressure control, and safe leak testing. Parker’s O-Ring Handbook also identifies compression set, chemical incompatibility, and surface damage as common sealing concerns.
Still, diagnosis is rarely perfect.
A technician may replace the seal and miss a scratched tube. Another may tighten the fitting and make the damage worse. This is why the investigation should examine the tube end, locking mechanism, seal condition, operating pressure, and installation method. A dry tissue can reveal a slow seepage around the fitting. A pressure gauge can expose performance loss that eyesight misses.
This guide explains why your Fitting Quick Connect may be leaking, how to identify the actual failure point, and when replacement is safer than adjustment. Expect practical checks, not assumptions.
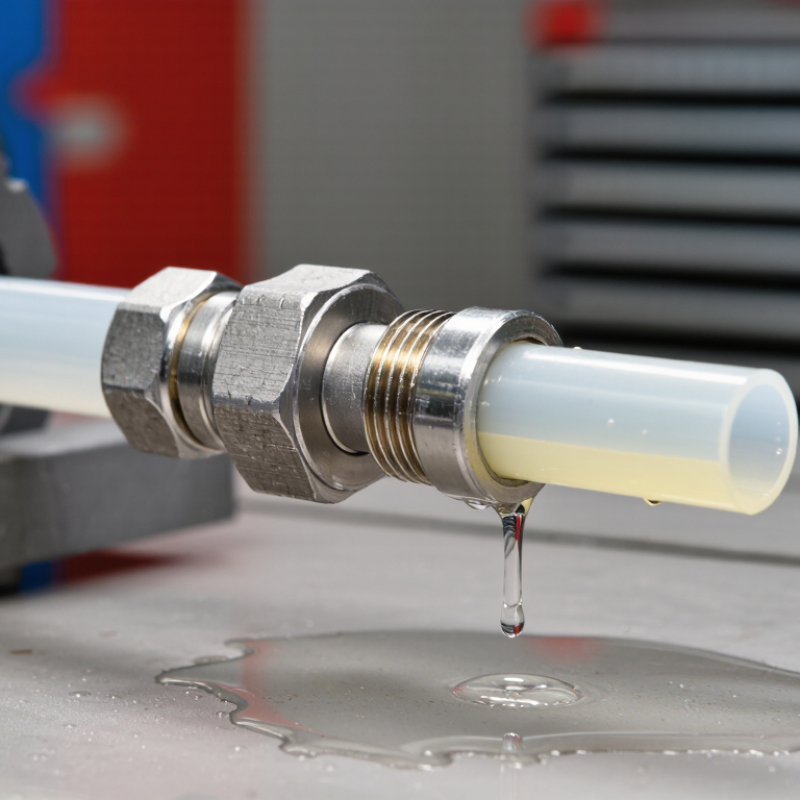
Table of Contents [Hide]
Common Causes of a Leaking Fitting Quick Connect
Why Is My Fitting Quick Connect Leaking?
A leaking fitting quick connect usually points to a sealing or installation problem. The O-ring may be cut, flattened, dry, or contaminated with dust. Even a tiny scratch on the tube can create a slow drip. The tube must be cut squarely and pushed fully into the fitting. If it stops early, the connection may feel secure but remain unreliable. Incorrect tube diameter, excessive pressure, and high heat can also damage the seal. Vibration or side loading may gradually loosen the connection.
Tips:Shut off pressure before inspection. Wipe the fitting and tube clean. Check the O-ring, tube end, collet, and insertion depth. Pull the tube gently to confirm engagement. Do not tighten a Quick Connect Fitting by force. These fittings normally seal through proper insertion, not excessive torque.
A common inspection mistake is replacing the fitting before checking the tubing. That can waste time and leave the real cause untouched. In field maintenance, repeated leaks often come from bent tubing or movement near the connection. I have also seen apparently correct installations fail after temperature changes. The tube expanded, contracted, and disturbed the seal. If the fitting still leaks after cleaning and correct reinsertion, replace damaged parts with compatible components. Test the connection slowly, then observe it under normal operating pressure. A dry surface matters; small leaks can hide around threads or inside protective sleeves.